
I've been doing a lot of sock knitting lately. Socks are easy and satisfying to knit, but how I hate trying to struggle through a Kitchener cast off. I've tried and tried, also looked at all the alternatives, but never managed to get a good result.
So I devised what I find to be a suitable and easy alternative. I don't claim to have invented it, perhaps someone else got there first, but it works for me.
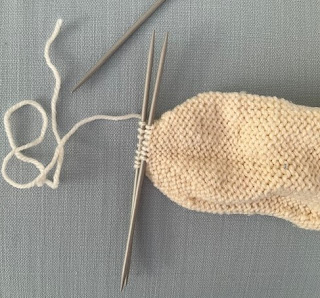
Line up your stitches as normal on two parallel needles.
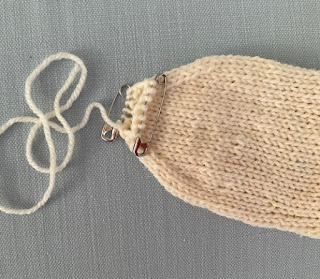
Transfer the stitches to two safety pins and cut the yarn to a suitable length, probably about half a metre is enough.
Turn the sock inside out, lining up the safety pins and pulling through the yarn. Transfer the stitches back onto the needles.
Cast (bind) off by knitting the first two stitches together onto the right hand needle. Knit the second two stitches together onto the right hand needle and pass the first over the second. This is known as a three needle bind off and there are many demonstrations on YouTube showing exactly how it is done. Continue in the same way to the end, fasten off the last stitch and the yarn and turn the sock the right way out.
My sock toe:
I hope you find it works for you.


